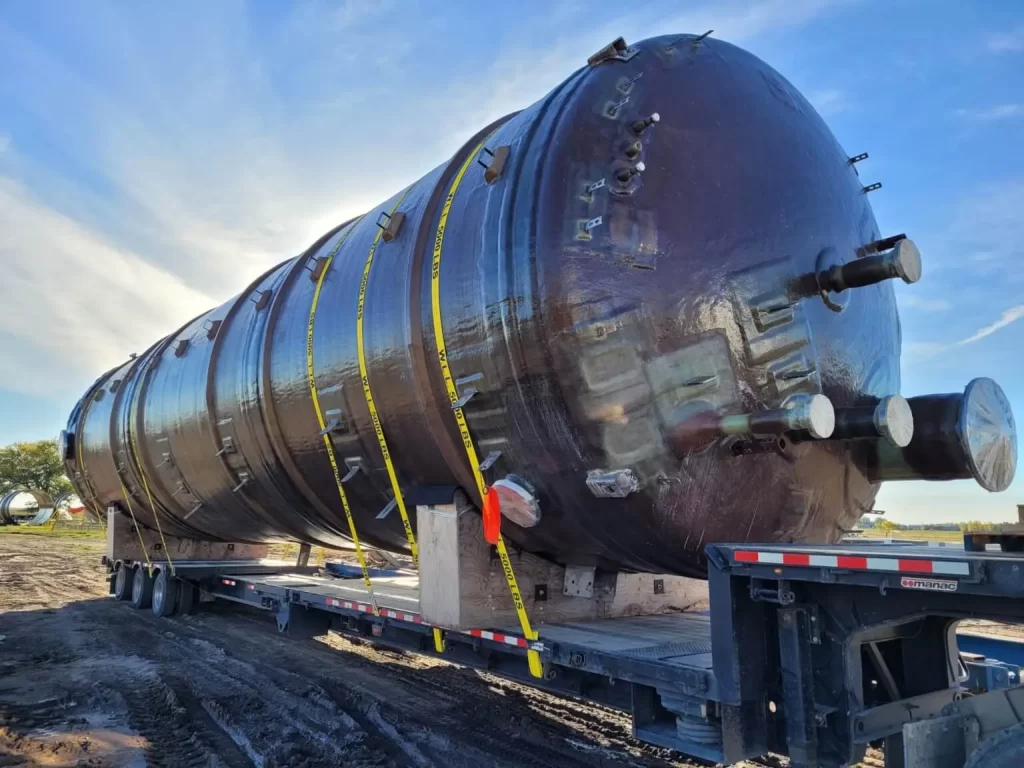
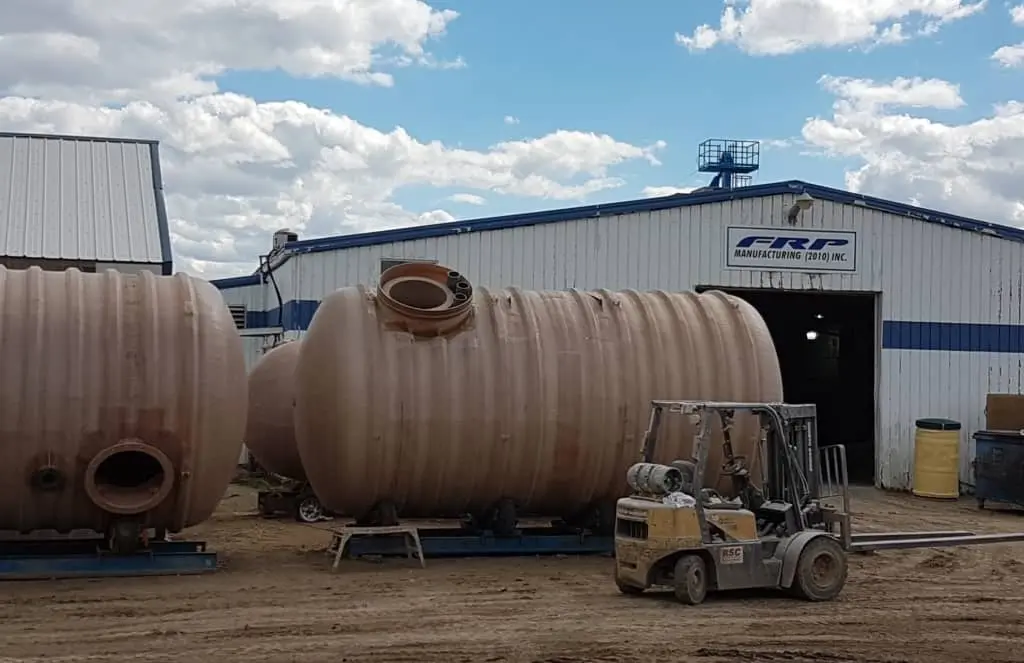
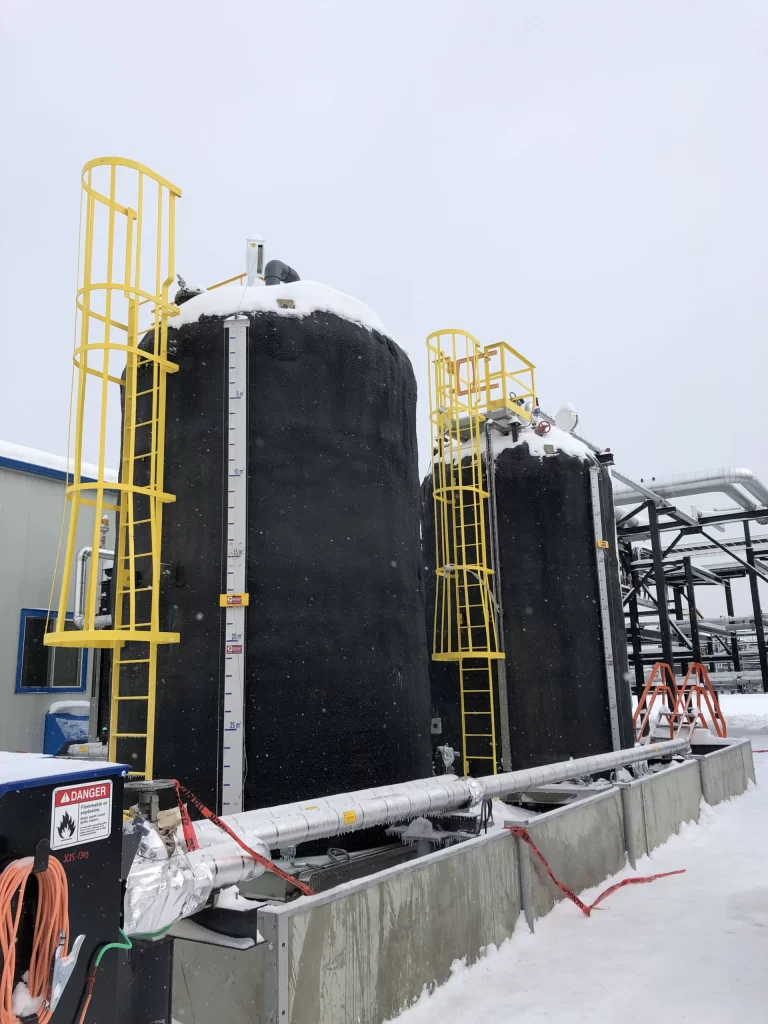
Whether you’re in the industrial or commercial sector, or just want a durable and cost-effective storage solution for your personal liquid storage needs, Fiberglass Reinforced Plastic (FRP) tanks are a cost-effective and long-lasting storage solution. Maintaining fiberglass tanks is essential to their longevity, performance, and integrity.
Regular spring maintenance helps in preventing issues such as leaks, corrosion, and contamination, and preserves the quality of stored liquid contents within the tank. Read ahead to learn our tried and true cleaning methods and fiberglass tank inspection techniques this spring season to guarantee your FRP tank’s pristine condition!
FRP Tank Cleaning
FRP tanks storing liquid, chemical, or other viscous materials need to follow a few extra steps for cleaning when compared to dry material storage in an FRP tank, where the process can take four to six hours to complete.
Drain The Tank
Begin the cleaning process by draining the tank completely to remove any water and sediment buildup. For interior cleaning of the tank, scrub the surfaces using a specialized fiberglass cleaner, and use a soft-bristled brush or sponge to manually scrub the algae, dirt, and mineral deposits. Ensure to wash the tank thoroughly with clean water to eliminate any cleaning residue.
Disinfect The Tank
The next step after draining and scrubbing the interior of the tank is to prepare a disinfecting solution by combining chlorine bleach or an alternative approved disinfectant with water. Administer the disinfectant solution to the inside of the tank, and let it sit for the recommended time to successfully eliminate bacteria and pathogens. Wash the interior of the tank thoroughly with clean water.
Cleaning The Tank’s Exterior
Cleaning the outside of a fiberglass-reinforced plastic (FRP) tank is essential for maintaining its appearance and eliminating the buildup of dirt, grime, and other contaminants. Remove loose dirt, dust, or debris from the tank’s surface with a soft-bristled brush or compressed air to avoid causing scratches to the tank. Wipe the FRP tank’s exterior with a gentle detergent and soft cloth, and wash the tank’s exterior with clean water to wash away soap residue.
Fiberglass Tank Inspection Techniques
Regularly inspecting fiberglass tanks is the initial step to ensure that a tank and its parts are working safely and efficiently. Conduct a visual inspection twice a year to check for holes and other signs of wear and tear, however, the frequency of inspecting the FRP tank also depends on factors such as tank usage, contents of the tank, and regulatory requirements.
Check Structural Integrity And Connecting Parts
An effective fiberglass tank inspection should include an inspection of the tank’s structural integrity. Look for cracks or fractures, and search for signs of deterioration in the seams, joints, and connection points. Also, look out for bulges or deformities in the tank walls which can hint at structural weaknesses. Checking the tank’s supports and anchors is also recommended, and check for these more frequently if the tank is situated in a locale with high winds or seismic activity.
Check for Water Quality
For an effective fiberglass tank inspection, test the water quality inside the tank with a water testing kit, and search for signs of discolouration, odour, or unusual taste which can reveal contamination or bacterial growth inside the tank.
Check External Environment
Evaluate the exterior environment in which the FRP tank is located and search for potential sources of contamination. This includes chemical spills, vegetation overgrowth, or construction activities nearby.
Regardless of the materials that you intend to store in your fiberglass tank, understanding the cleaning methods and inspection techniques will result in a durable and reliable storage system. Contact our team at FRP Mocoat today to find which FRP tank suits you best!

